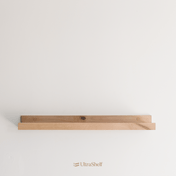


Routing and Drilling
Watch this video to learn how to route and drill your new shelf.
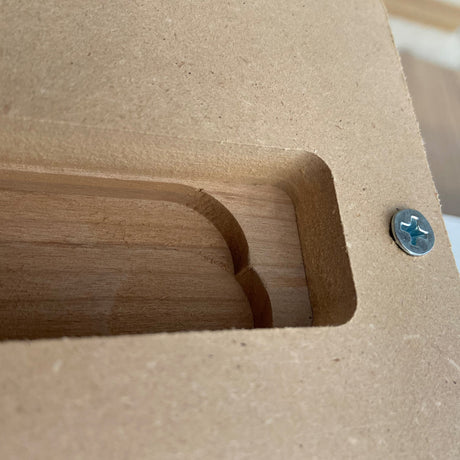
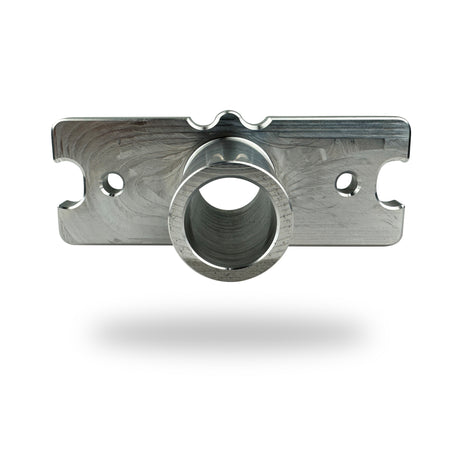
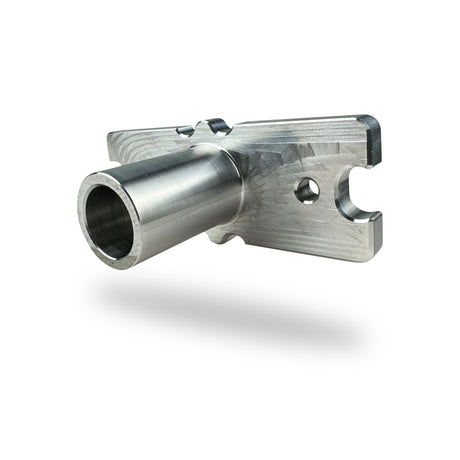
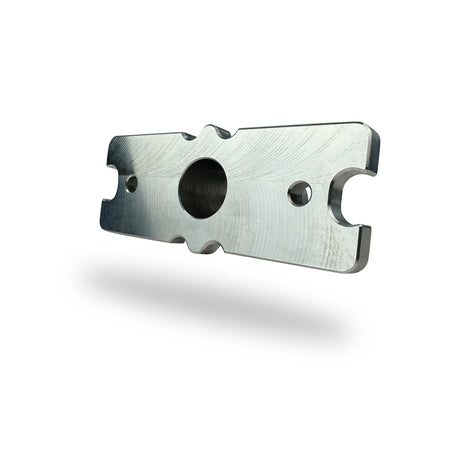
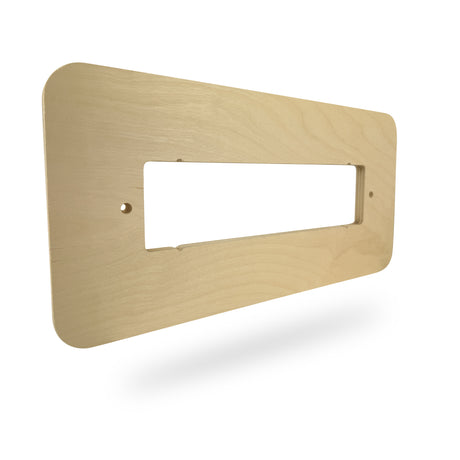
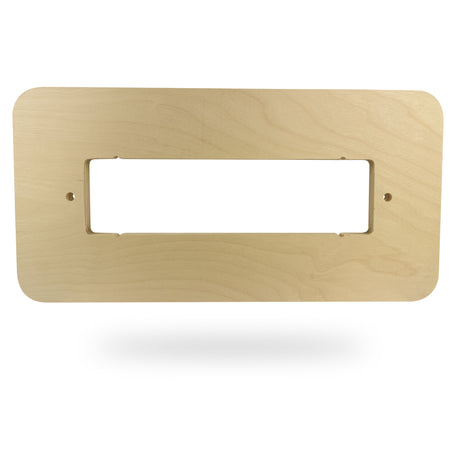
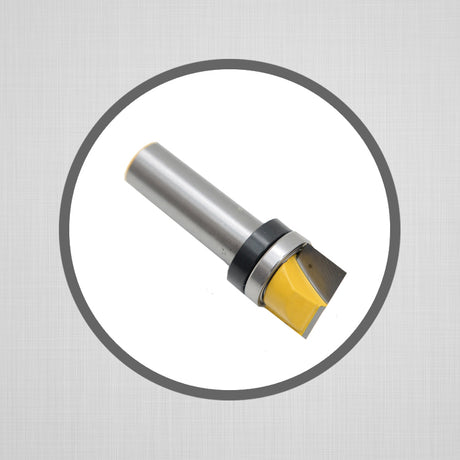
Router your shelf for recessed bracket
-

Step 1
Measure the back of your shelf and mark the center point of your shelf length. Note: If you already screwed the routing jig to your shelf as instructed for drilling for your bracket rods then skip to the last step since your routing jig will already be fastened to the back of your shelf.
-
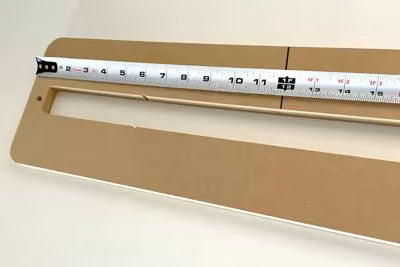
Step 2
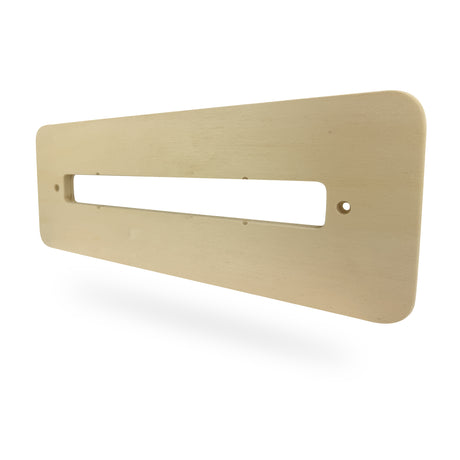
Measure and mark the center of the routing jig.
-
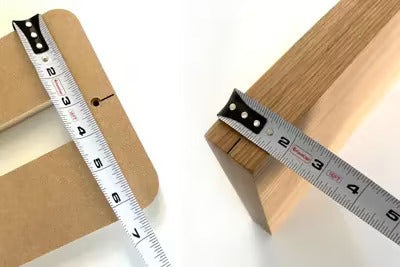
Step 3
Now measure and mark the shelf and routing jig thickness center.
-
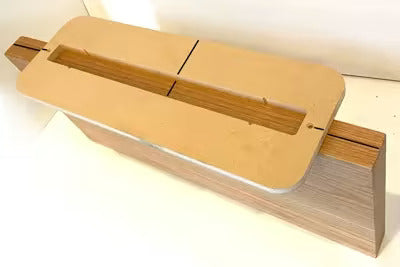
Step 4
Screw the routing jig to the back of your shelf while aligning the center marks on your routing jig to the center marks on your shelf.
-
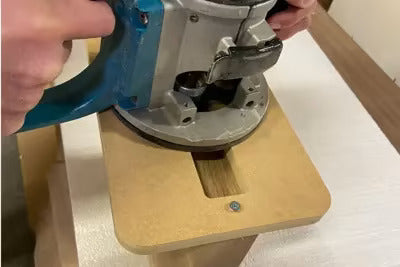
Step 5
Router your shelf using a 3/4" Diameter x 5/16" Deep Router Bit.


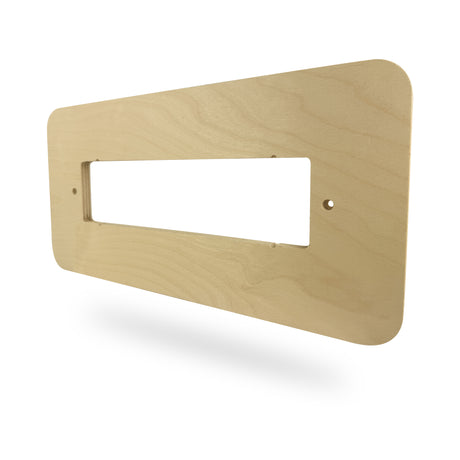
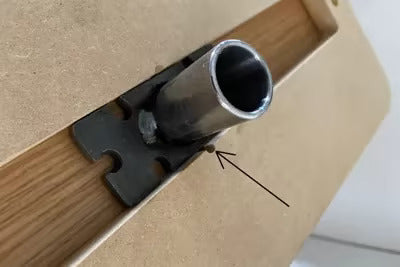
Drill your shelf for bracket rods
-
Step 1
Measure the back of your shelf and mark the center point of your shelf length.
-
Step 2
Measure and mark the center of the routing jig.
-
Step 3
Now measure and mark the shelf and routing jig thickness center.
-
Step 4
Screw the routing jig to the back of your shelf while aligning the center marks on your routing jig to the center marks on your shelf.
-
Step 5
Screw the drilling jig to the back of your shelf and be sure to line it up with the notches in the routing jig.
-
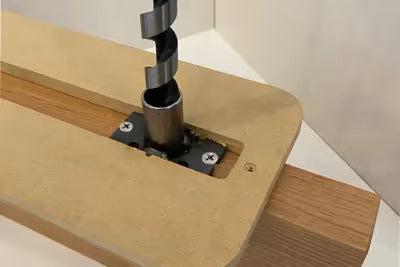
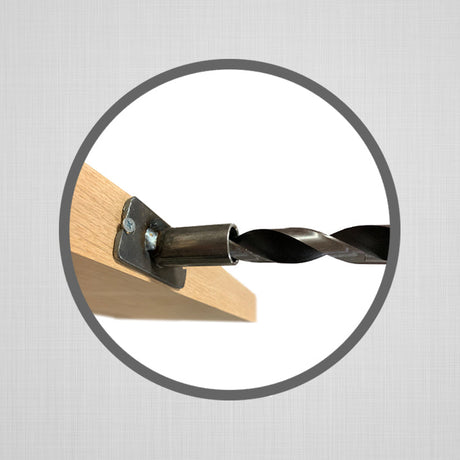
Step 6
Drill the hole using a 13/16" diameter drill bit for the Standard and Mantel Brackets or a 9/16 diameter drill bit for the 9er Brackets.


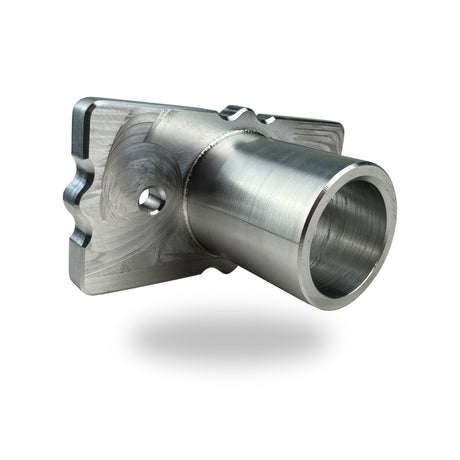
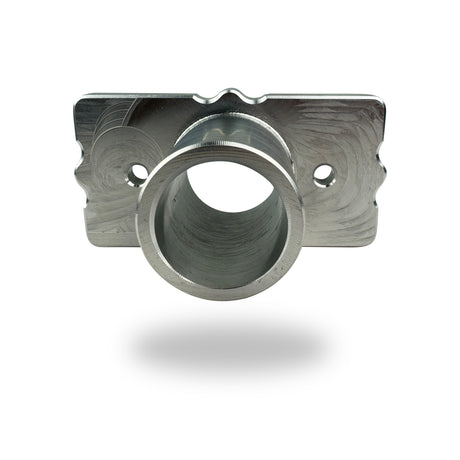
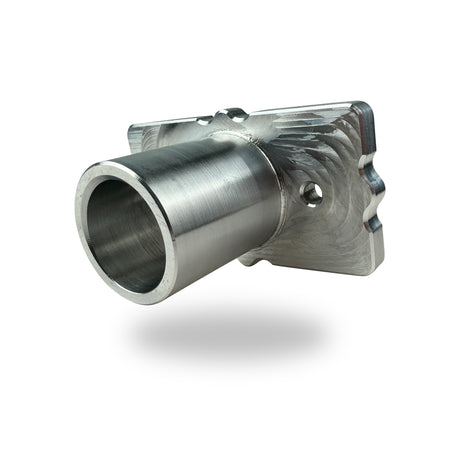
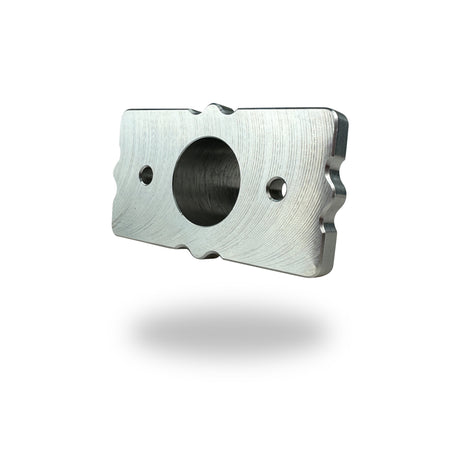
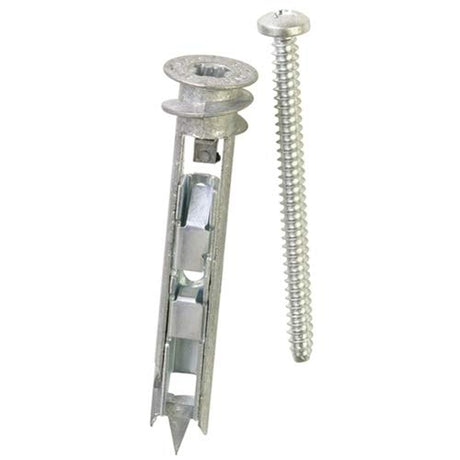
Tools to simplify your project
-
-
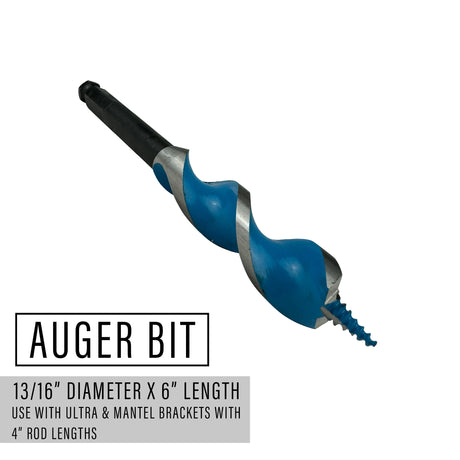
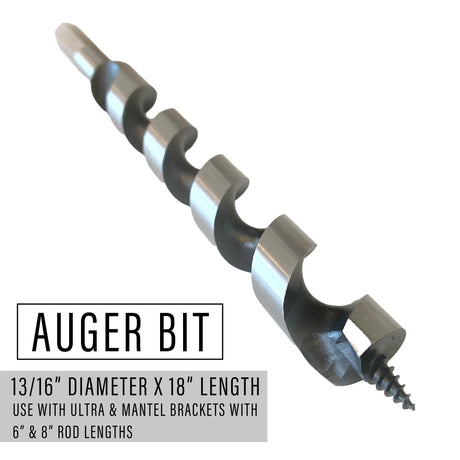
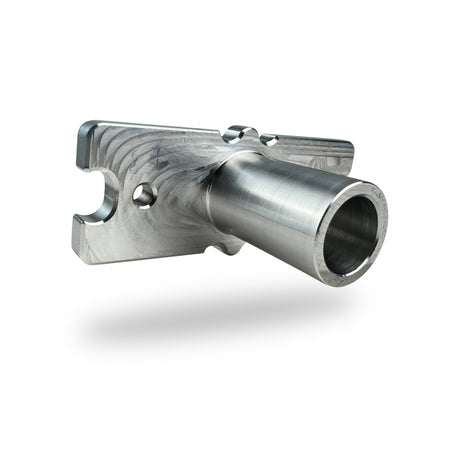
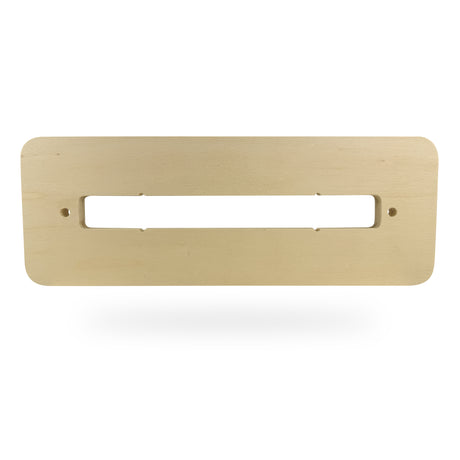
Ultra Shelf
Ultra Drilling Jig for Ultra & Mantel Brackets
Regular price $9.42Unit priceUnavailable -
-
-
-
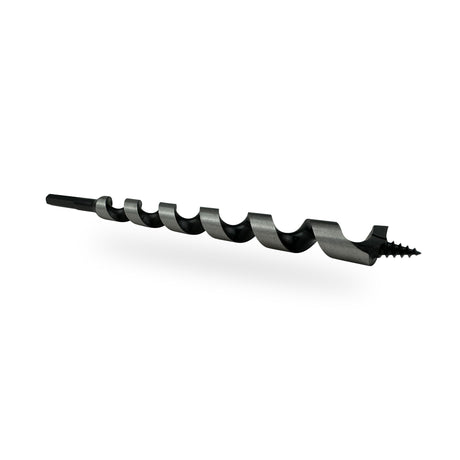
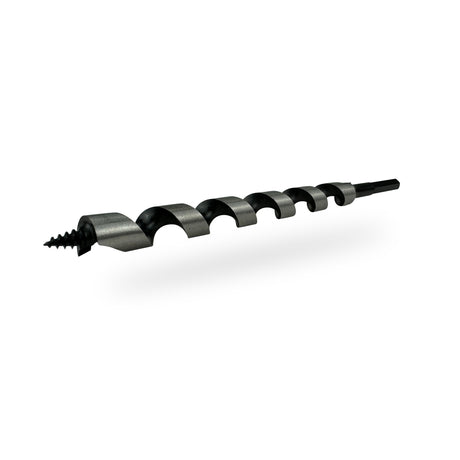
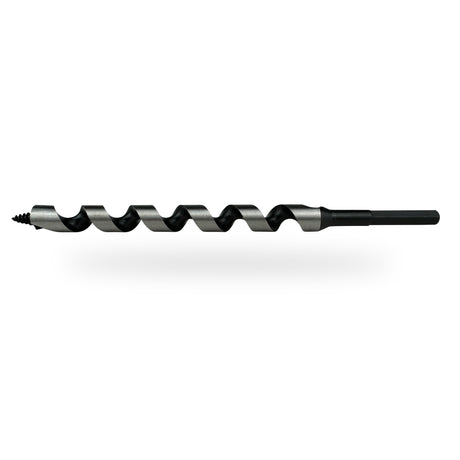
Ultra Shelf
Ultra Auger Bit for Ultra & Mantel Brackets
Regular priceFrom $29.00Unit priceUnavailable -
-
-
-
-
-
-
-
-
-
-