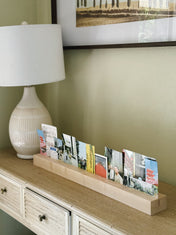
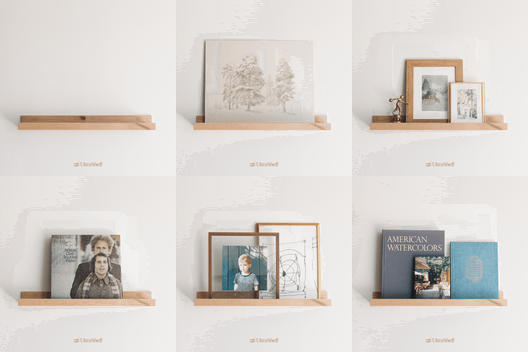
If you’ve recently purchased from Ultrashelf and are looking for instructions on how to install your shelf, we’re sharing a step-by-step walkthrough on how to install your new floating shelf. Regardless of your DIY skills, Ultrashelf is designed to make your installation experience as easy as possible.
Every Ultrashelf kit comes equipped with a Studlock bracket and wood screws. To begin the installation process, ensure you have the necessary tools at hand: a power drill with a Phillips bit, a measuring tape, a level, and a stud finder.

Follow these clear steps for a successful installation of your Ultrashelf:
1. Choose the Shelf Location:
- Decide where you wish to install your floating shelf.
- A major advantage of our Studlock Bracket system is the flexibility it offers; thanks to the keyholes placed at one-inch ntervals on the bracket you can install the bracket where you want on that wall and still hit a stud. This helps make sure that your shelf is installed effectively in any desired location.
2. Mark the End Points:
- After settling your shelf where you want it installed on the wall, use a pencil to mark the left and right ends.
3. Identify the Center Point:
- Determine the midpoint of your floating shelf's length to find its center on the wall.
- For instance, if your shelf is 24 inches long, the center point should be 12 inches from either end mark you made in the previous step.
4. Locate and Mark the Studs:
- Utilize a stud finder to identify all the studs situated between the marks of the left and right bounds of your shelf.
- Clearly mark both sides of each stud to facilitate precise drilling into the stud centers later on.
5. Install the Bracket:
- Align the central point of your bracket with the center line you marked earlier for the shelf.
- Begin the installation by drilling a screw into a stud.
- To ensure the bracket is perfectly horizontal, place a level on top of it after securing the first screw, and then proceed to drill and fasten the remaining screws into the identified studs.
6. Mount the Shelf:
- You've now reached the final and easiest step. Simply slide your shelf onto the installed bracket. Voila, the setup is complete!
If you're more of a visual learner, check out our How To Install Custom Floating Shelves | DIY Tutorial on YouTube!
Congratulations on becoming an Ultrashelf DIY expert! If you encounter any issues or have queries during the installation, feel free to contact our support team through live chat, phone, or email. We are at your disposal to assist you.

